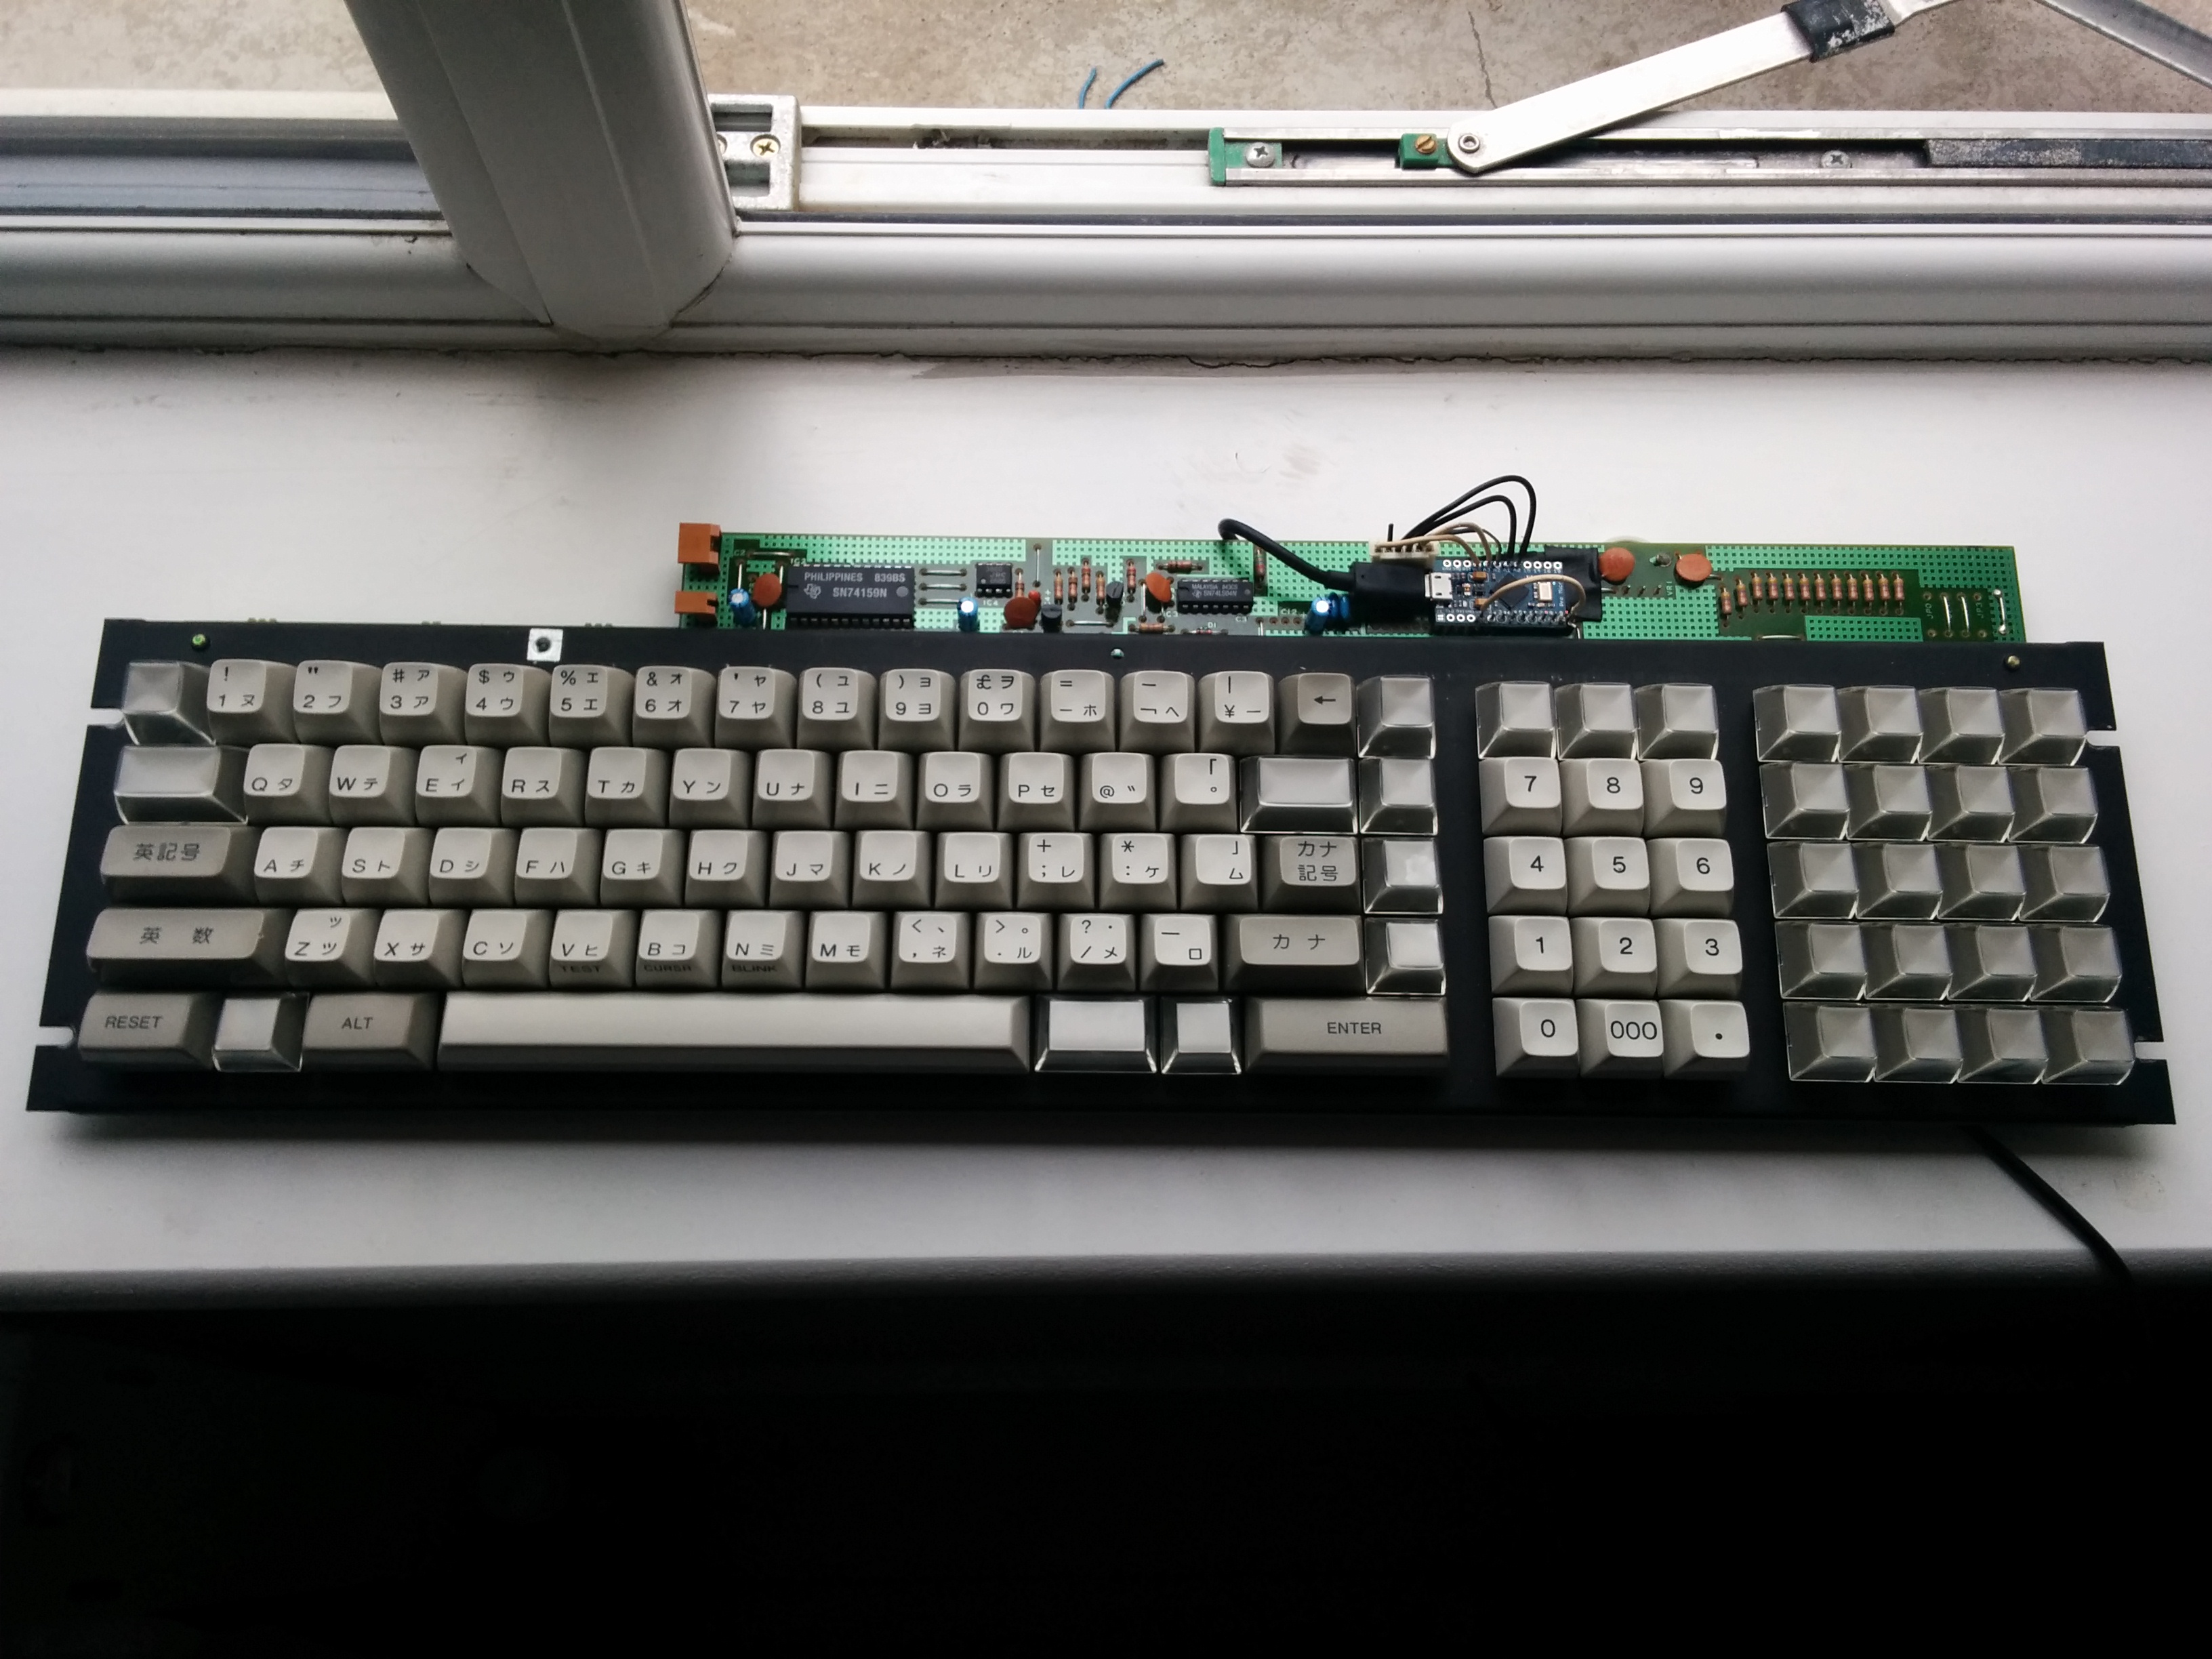
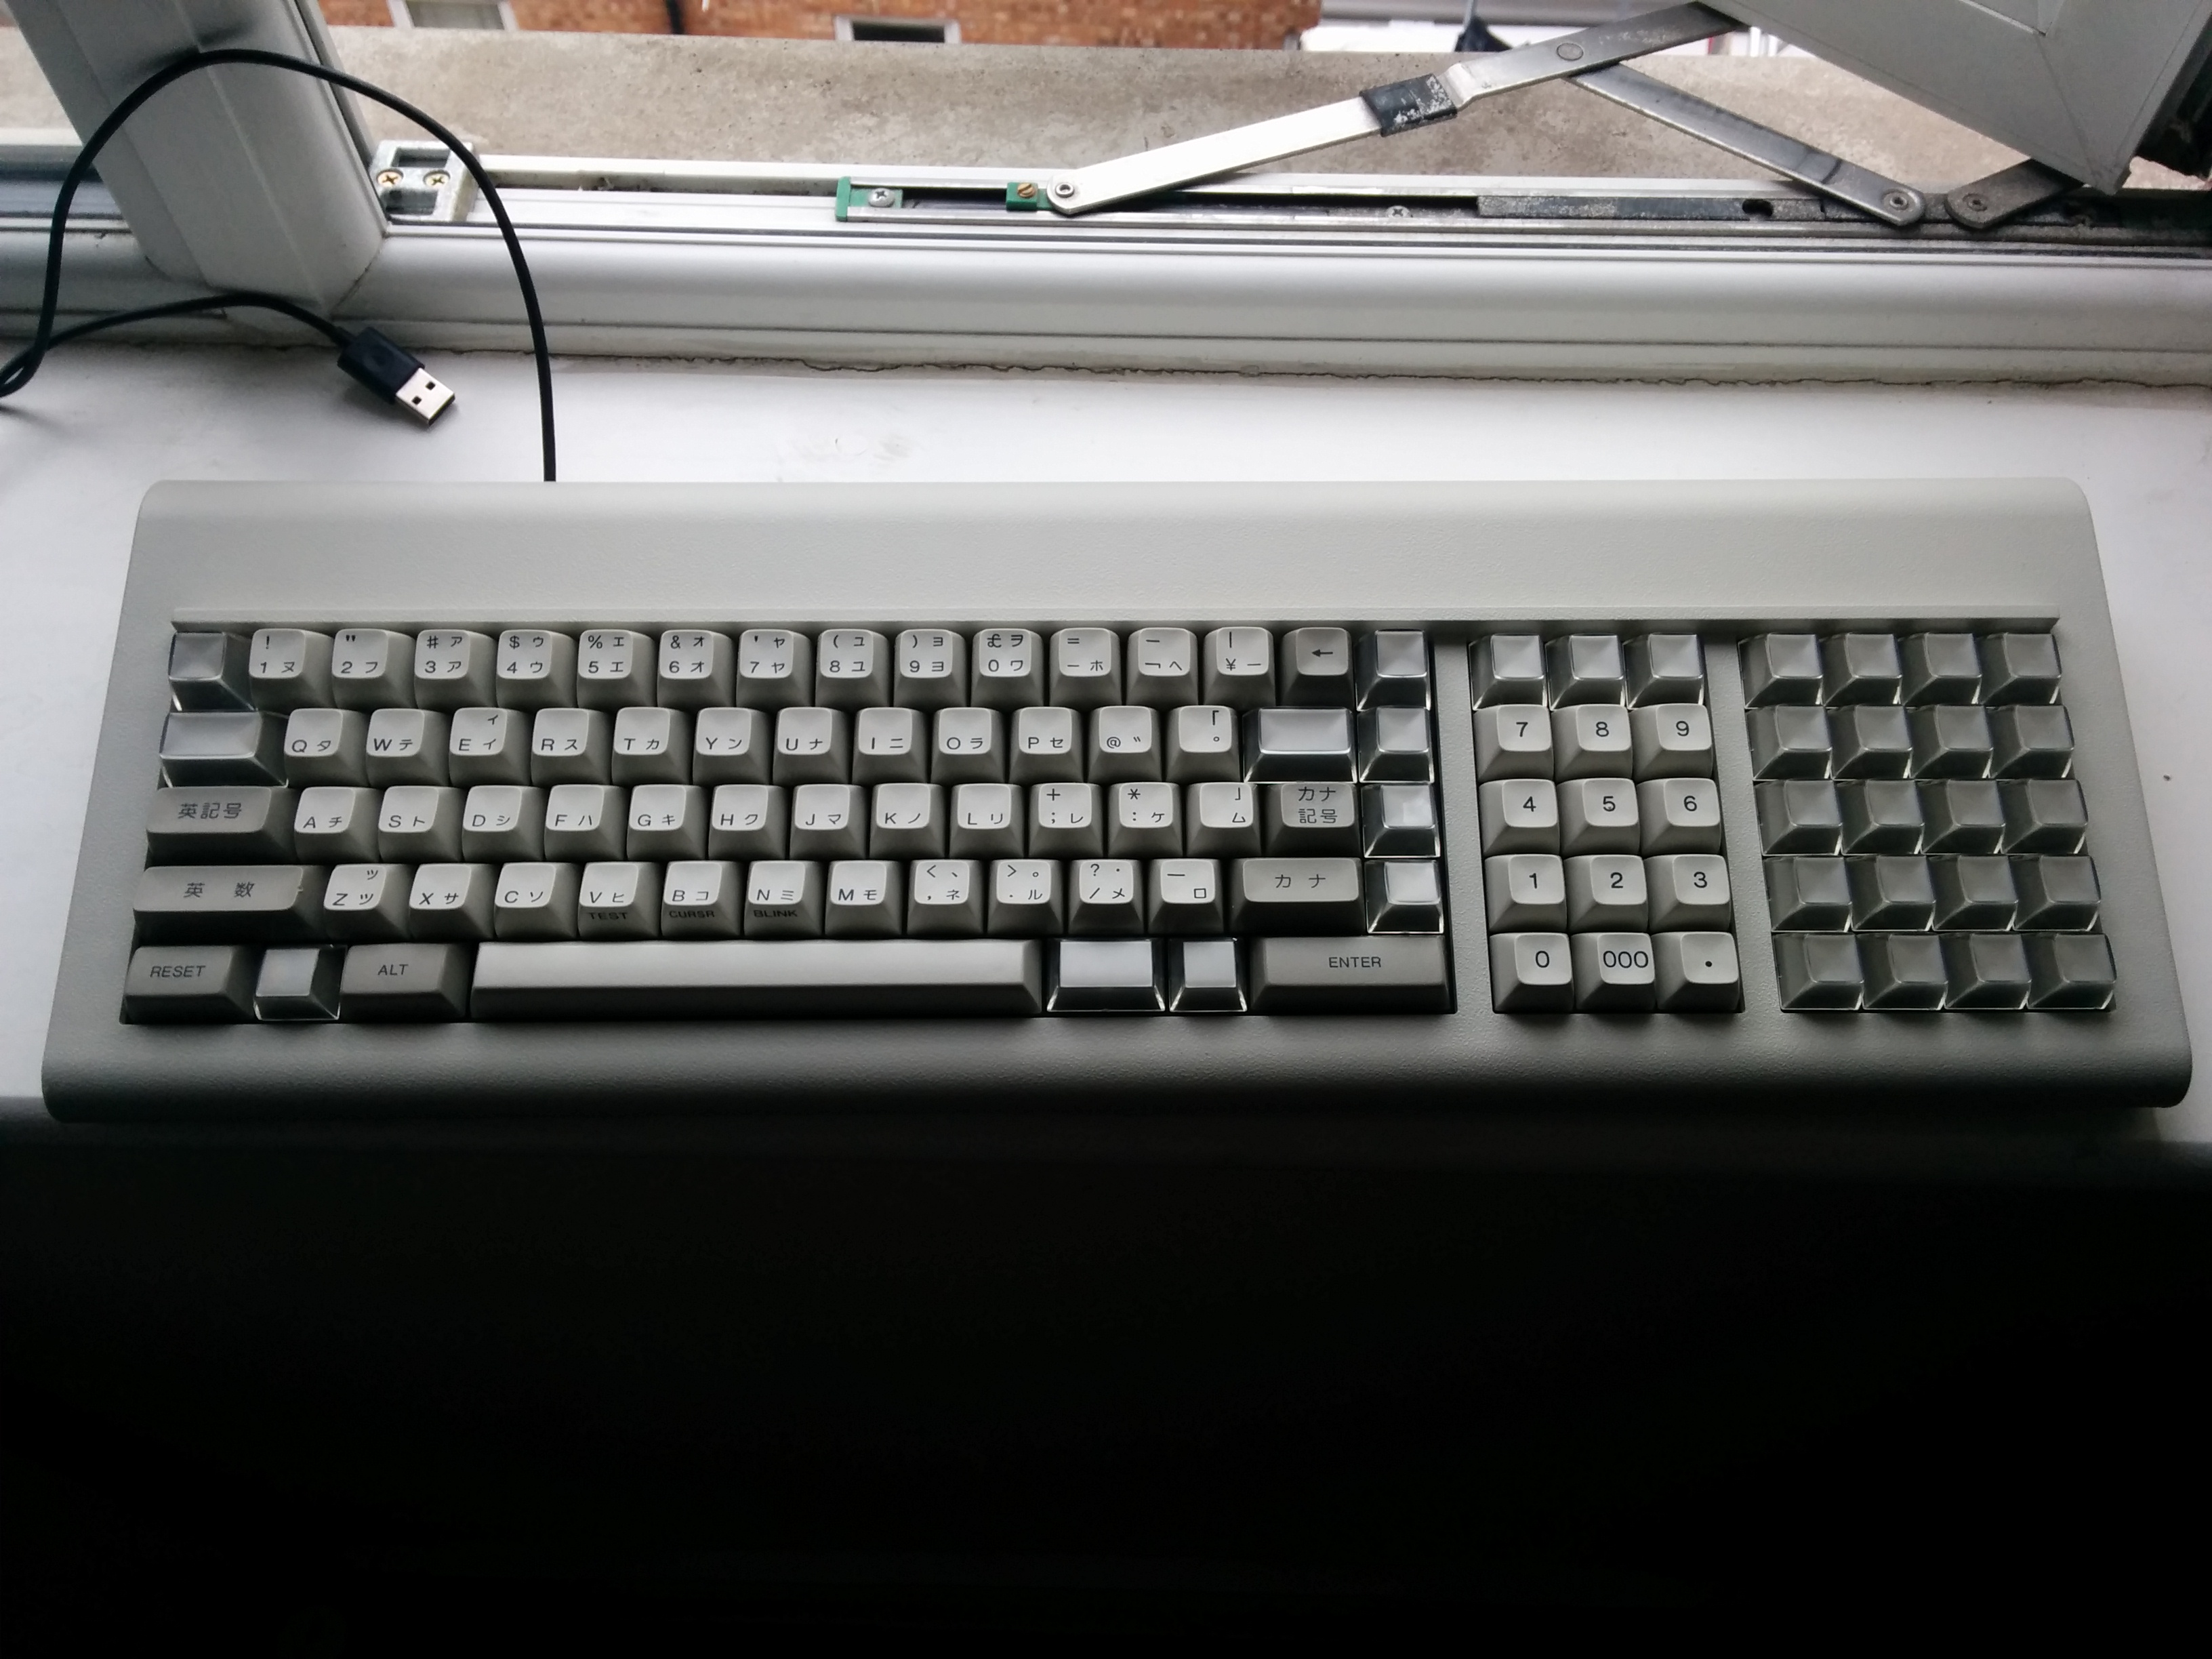
Over the weekend after some planning, I finally decided to hack up the IBM 6112884 keyboard I bought a few months ago. I intended on doing this for a while but didn't get around to it until this past weekend.

Don't use this board at work, it is LOUD, and your coworkers will kill you, or if you work in London, like I do, make them want to kill you but not tell you that..
The source code and a more detailed writeup of how to accomplish this is available on Github.
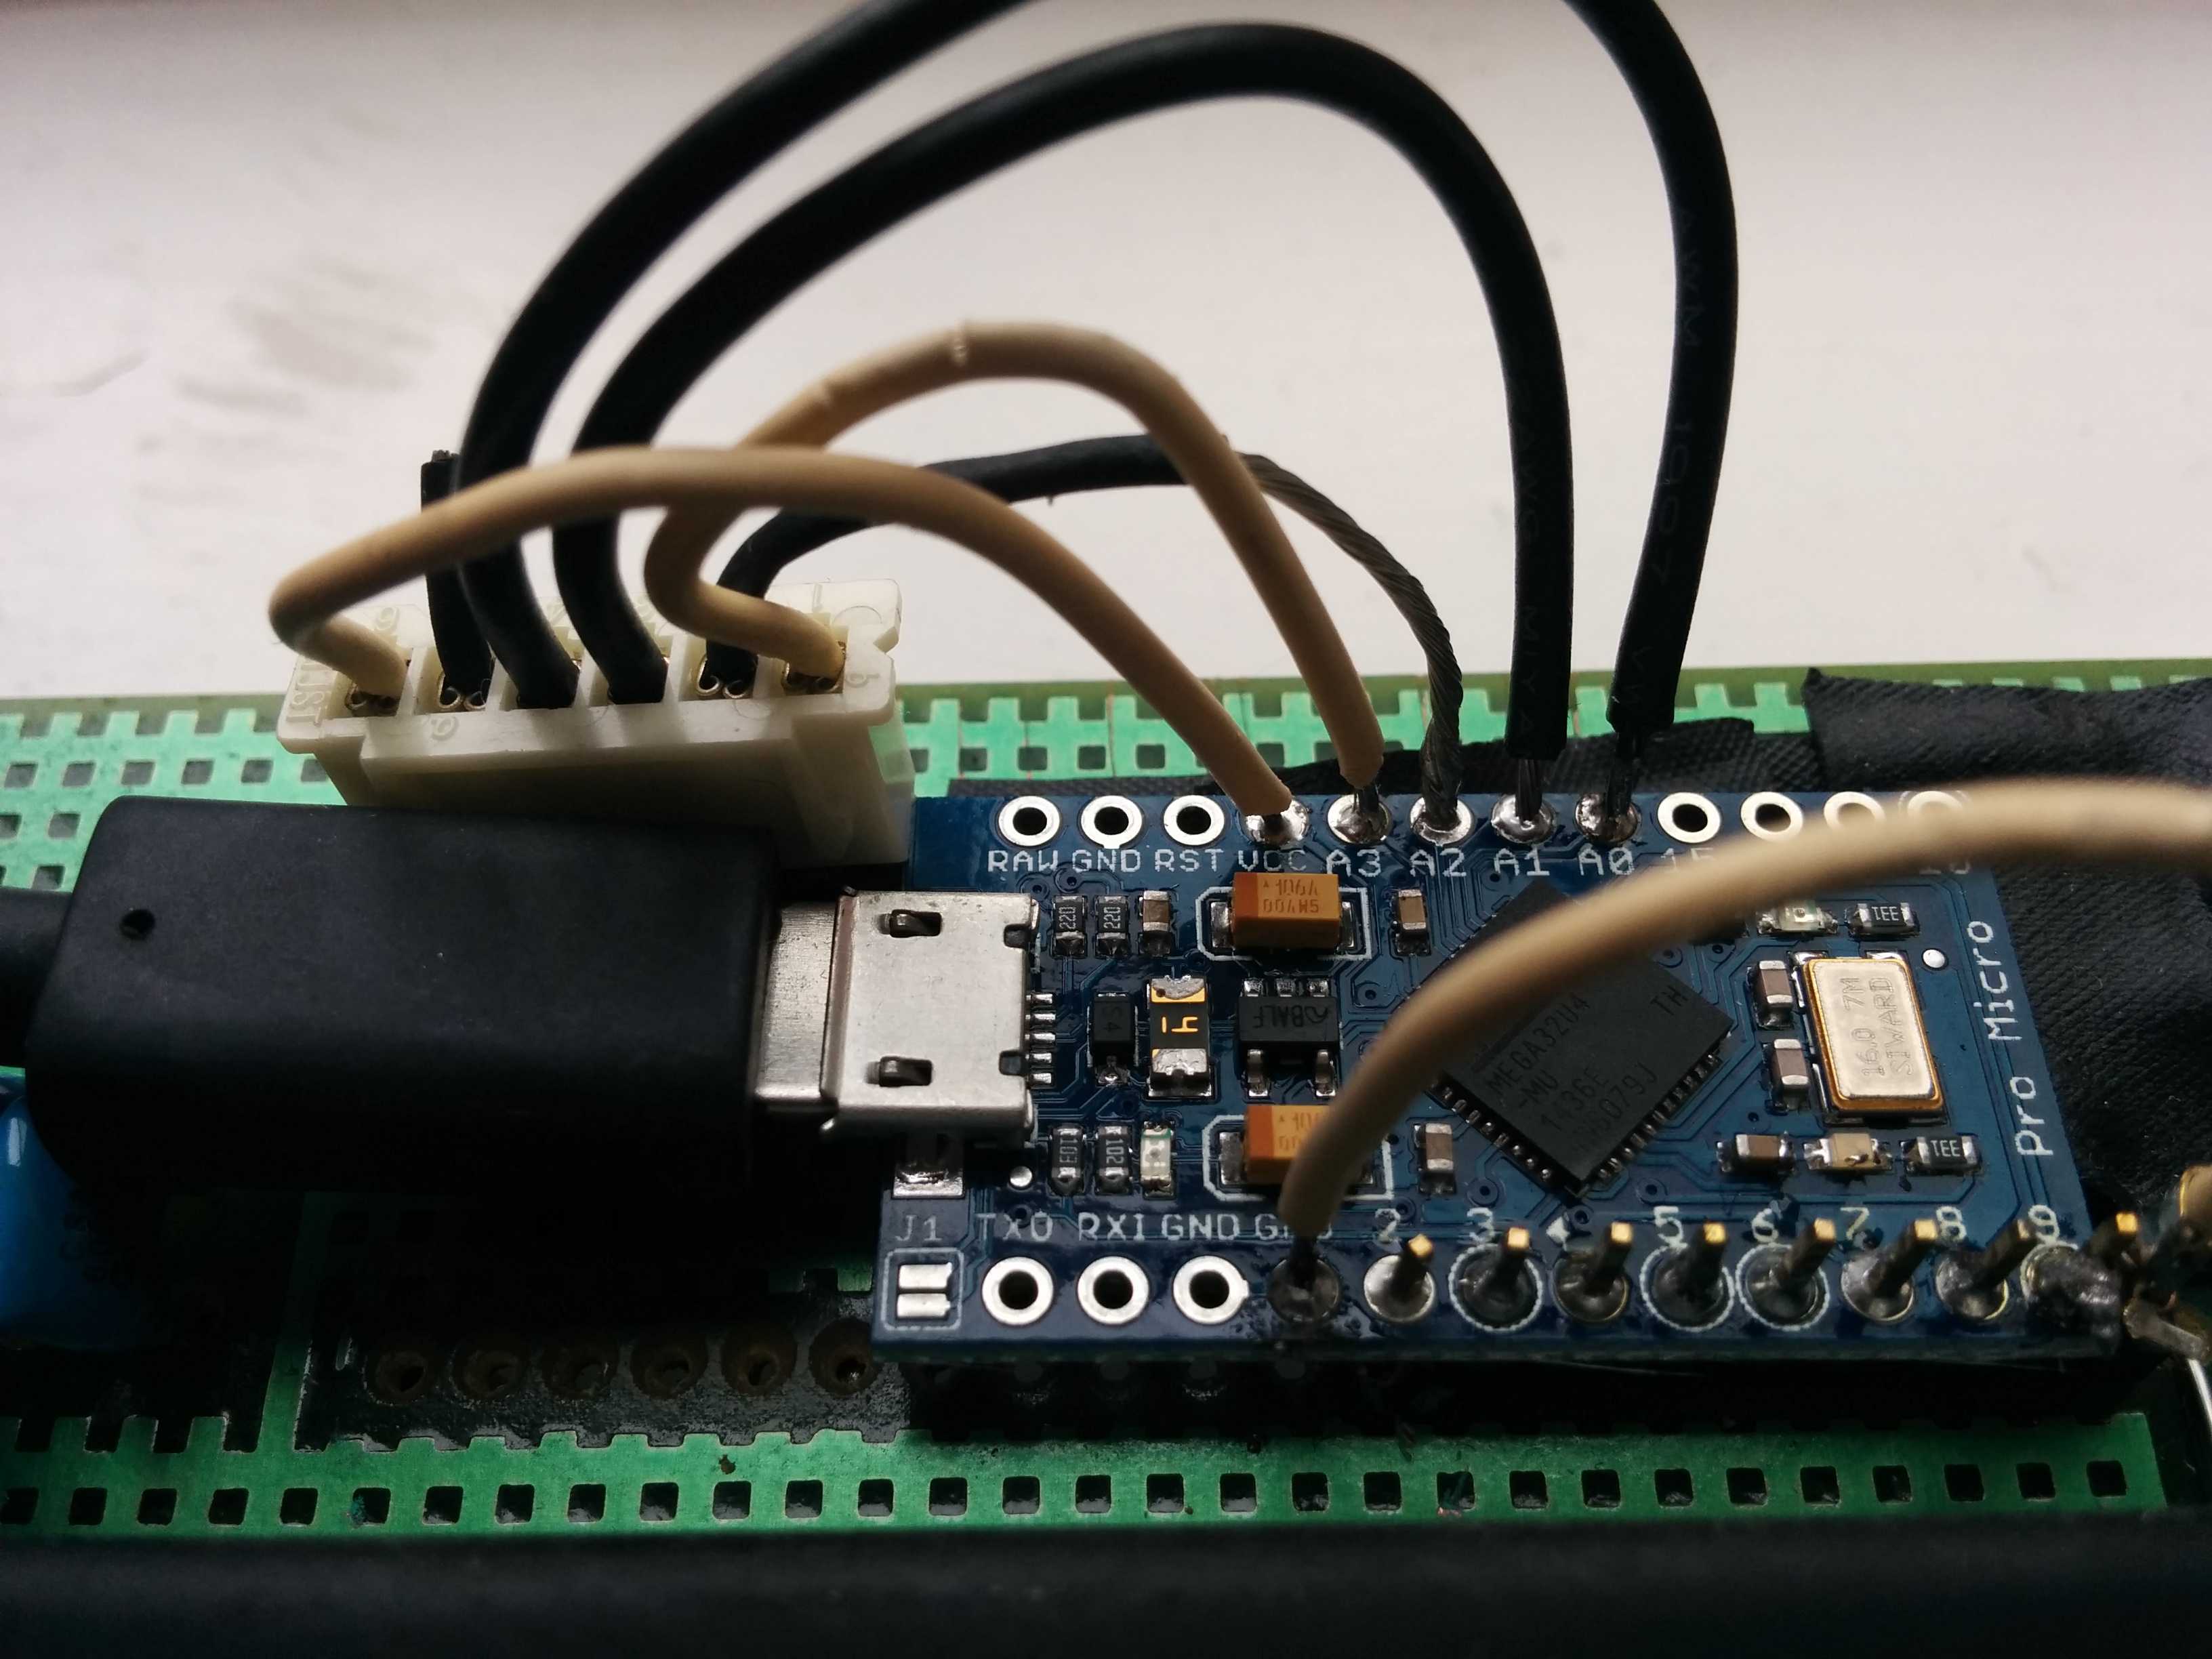
I bought a couple of of Pro Micro controllers like the one pictured below because they use the same processor as the Teensy that is used in most projects.
Why this keyboard?
I don't speak Japanese, and I don't really have any intention on learning it at the moment. So why this thing? To be honest, it was an impulse buy when I saw a big lot of them go on ebay for around $24 each. I bought one and then it sat in my closet for ages until this past weekend.
The board has a ton of buttons, a nice clunky feel, and an obsolete connector, making it essentially useless without some hacking.
Again, there is a full writeup on Github, so if you're actually trying to accomplish this or something like it, definitely check that out.
Hacking the Hardware
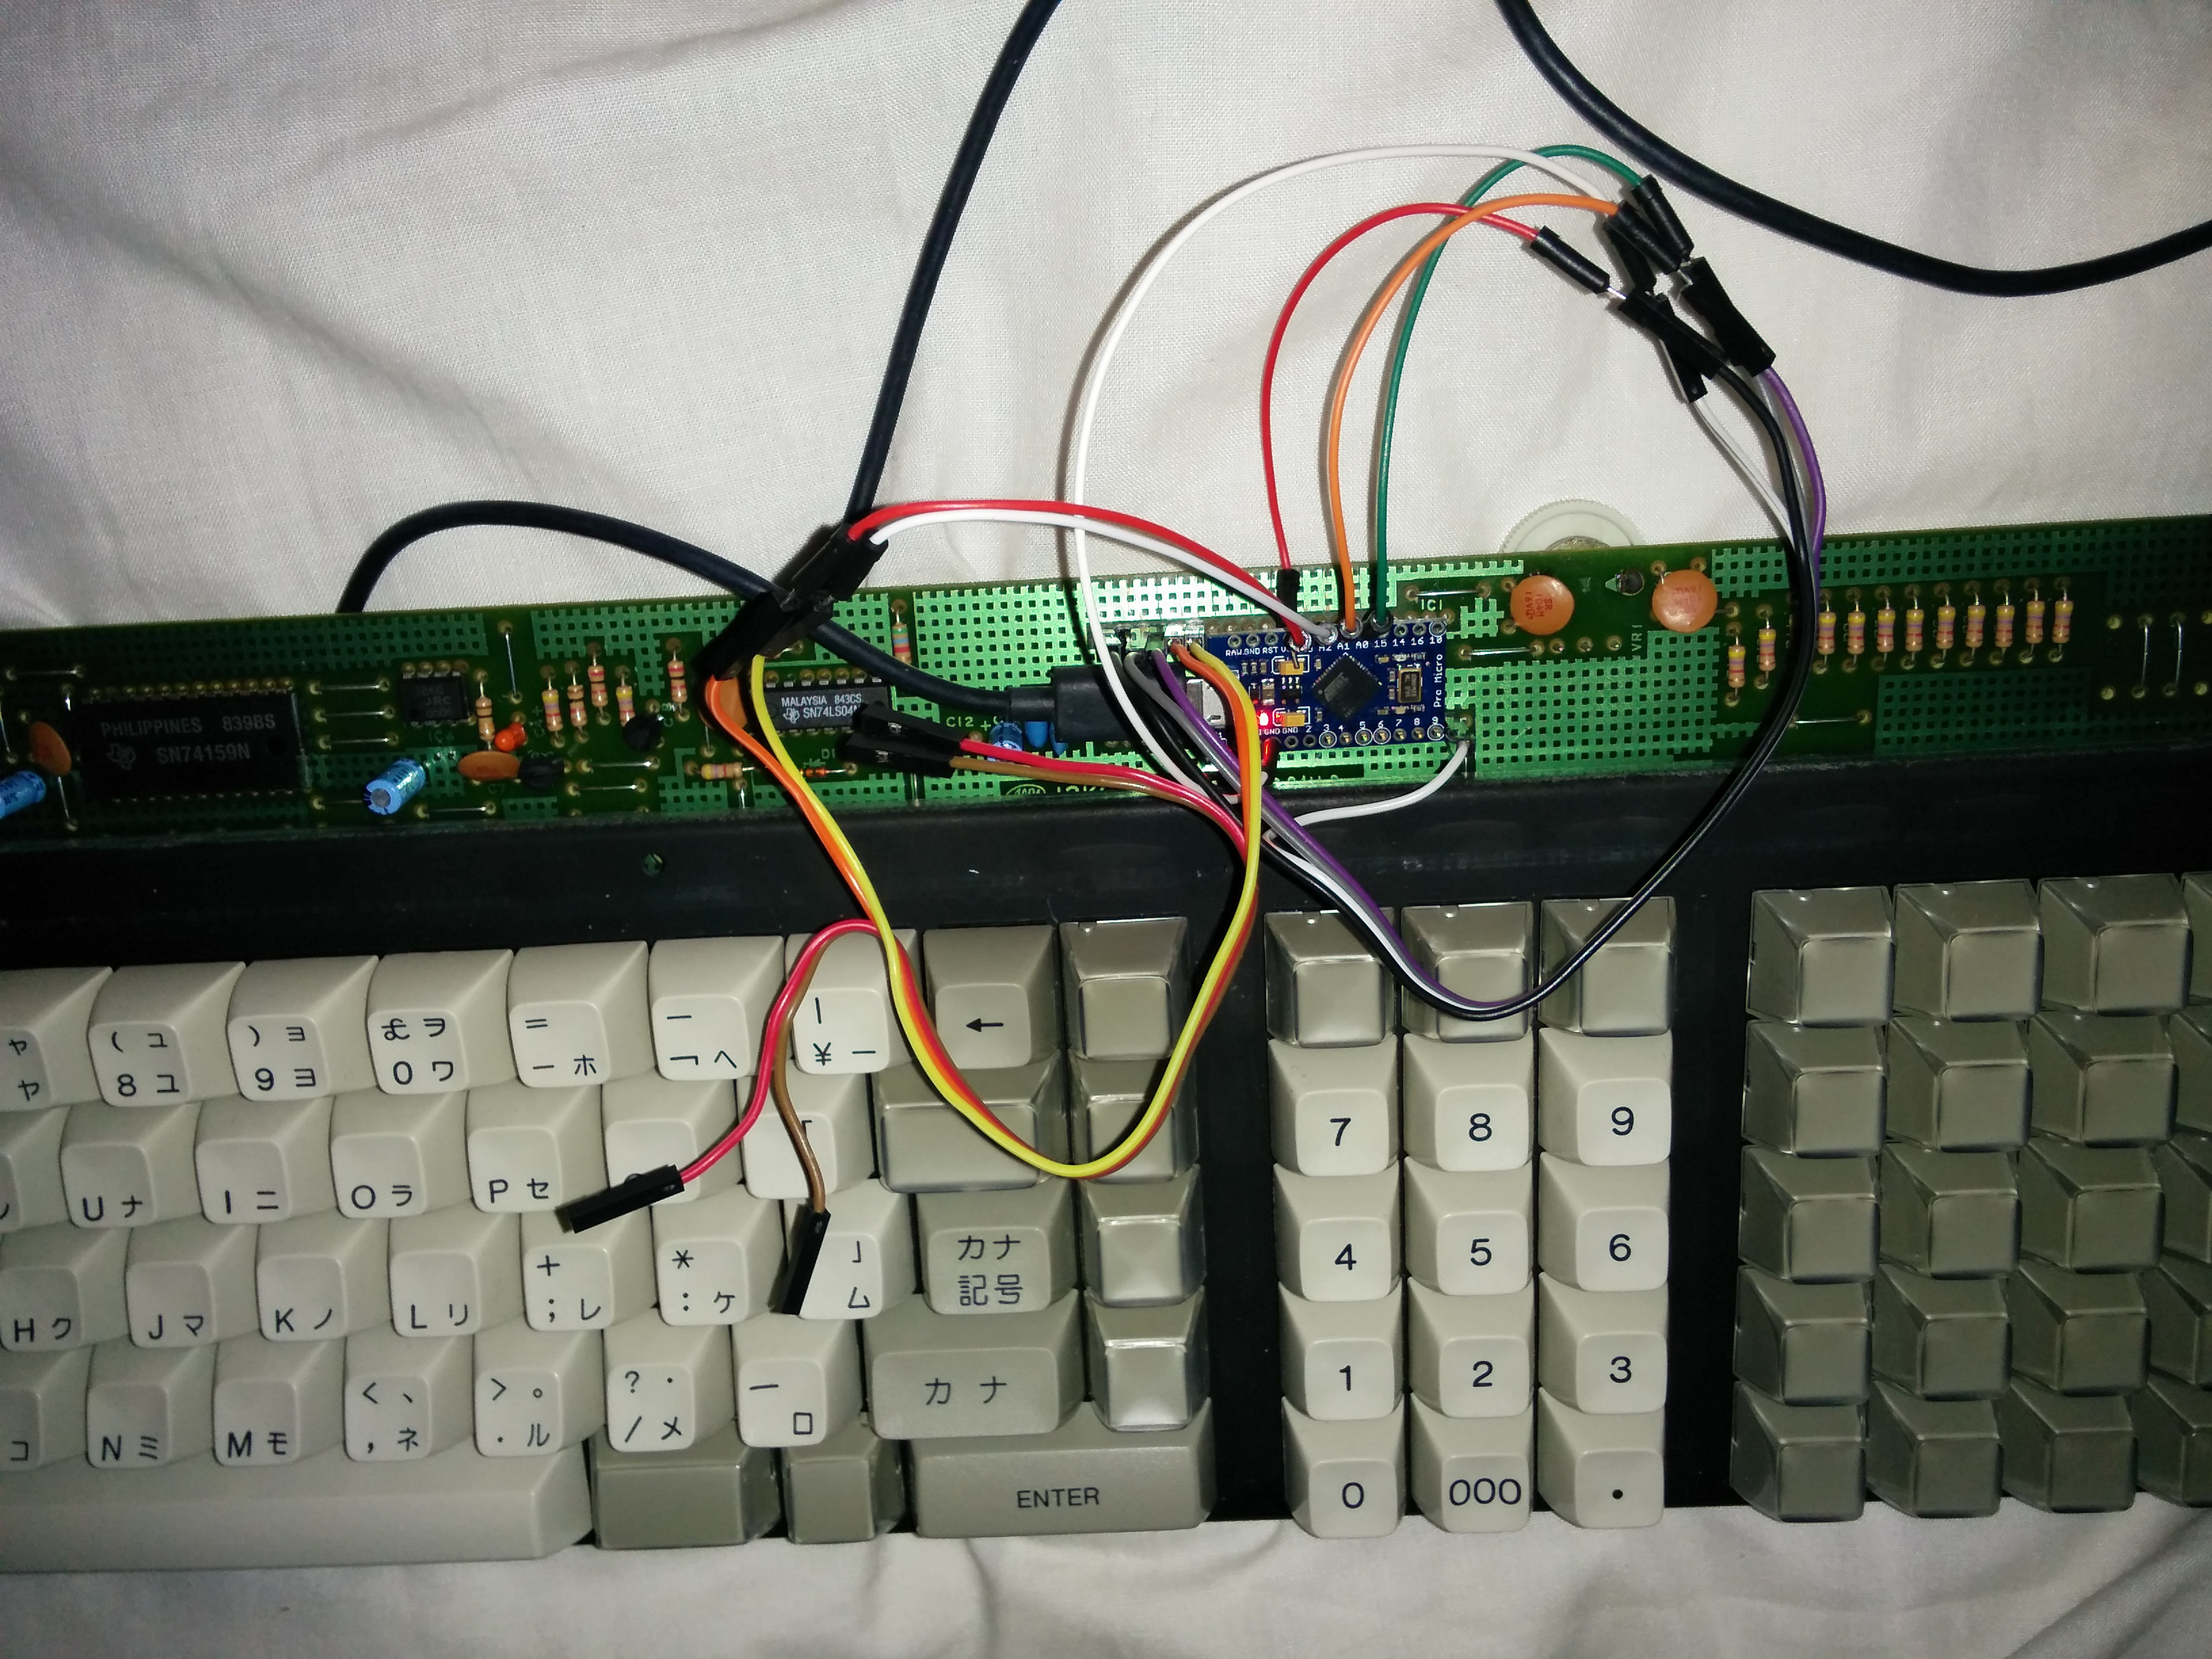
I did a mostly atrocious job of hacking this keybord right up until the very end. Desoldering the original processor was quite difficult, and took a long time because my working environment was me sitting on the floor of my room, getting frustrated with the length of the cord of my soldering iron.
After I got it out, I threw some temporary wires in and hooked up the Pro Micro.

Once I confirmed that things were working mostly as expected, I did a slightly better job in doing the permanent installation.

After finishing that up, doing some testing and getting the software running, I put the clothes back on this board and started typing!

Notes on the build
Get a good quality USB cable I had a couple of micro usb cables laying around that straight up worked for android phones, charging things, other keyboards, etc that would not work for programming my pro micro. Believe it. It happens.
When I finally got to the troubleshooting phase. I used xev extensively to test the keys and ensure the mapping was to my liking. I found this super handy sed command on reddit for filtering the output to get less stuff. Give it a shot if you like. xev produces a ton of output otherwise.
xev | sed -n 's/^.*keycode *\([0-9]\+\).* * \([a-z,A-Z,0-9,_-]\+\)).*$/keycode \1 = \2 /p'
On mine, I had a whole row of keys that didn't work, so I aligned the columns in the configuration file to get a better visual on what was supposed to be happening on each pin of the controller. The line below refers to what cluster of keys are connected to each pin of the pro micro. It was really helpful to line everything up so I could visually see everything while I was testing.
sense		      PD1			    PD0			    PD4				PC6			    PD7			    PE6				  PB4			    PB5
# 0
muxstrobe 0		esc     		TAB			    Z			  	S			      W			      2			    	UNASSIGNED	UNASSIGNED
muxstrobe 1		1			      Q			      X			  	D			      E		      	3			    	UNASSIGNED	UNASSIGNED
Otherwise the project went relatively well and was mostly uneventful. There are some cool things I can do with this board, like figure out how to get the speaker to do something useful, utilize the volume control, or install a USB hub or something.
Attribution
- None of this would have been possible without Soarer and all the contribution he has made, and this post in particular.
- I used a really useful trick to get the pro micro into bootstrap mode that I found in this repository. Props the that guy.
- This article about doing basically the same thing was helpful for all the people troubleshooting stuff in it.
- The reddit /r/MechanicalKeyboards had that handy sed line for filtering
xevoutput. - As with all keyboard projects, thanks geekhack and deskauthority communities.